DockerDesktop开启Kubernetes
DockerDesktop 开启 Kubernetes
Kubernetes 镜像
- 查看版本
- 下载 k8s-for-docker-desktop
https://github.com/AliyunContainerService/k8s-for-docker-desktop

- /k8s-for-docker-desktop-1.28.2 目录下执行 .\load_images.ps1
如果因为安全策略无法执行脚本,可以以管理员身份运行并执行 Set-ExecutionPolicy RemoteSigned

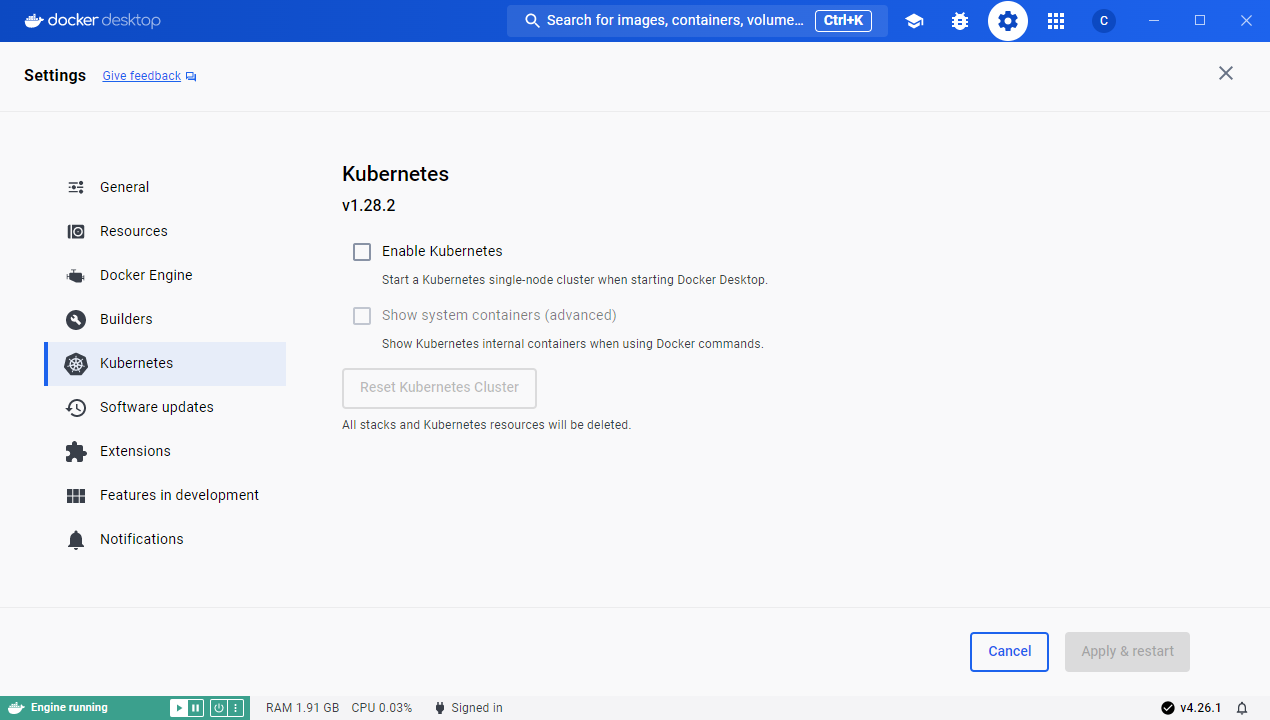
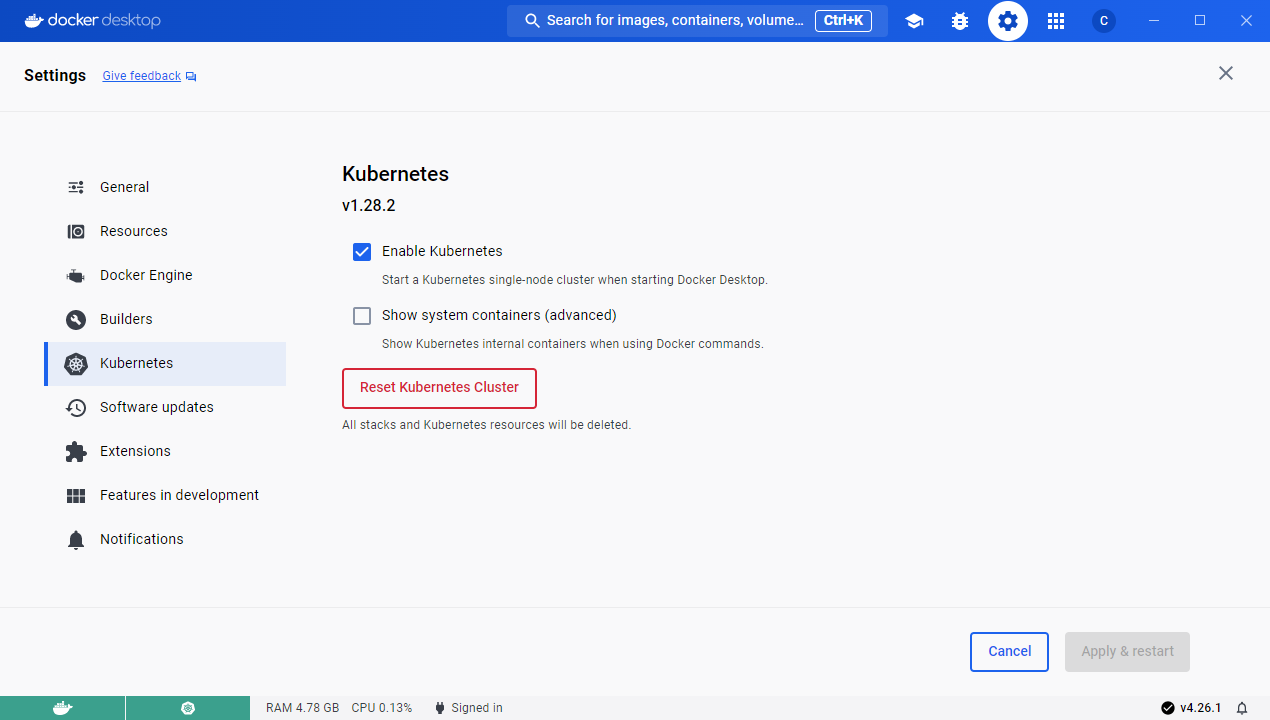
启动 Kubernetes
- 修改 hosts 地址
1 | 127.0.0.1 kubernetes.docker.internal |
- 配置 Docker Engine
1 | { |
- 启动
如果启动失败,可以点击 Reset Kubernetes Cluster 后再重启
配置 Kubernetes
- 切换 Kubernetes 运行上下文
1 | kubectl config get-contexts |

- 验证集群状态
1 | kubectl cluster-info |

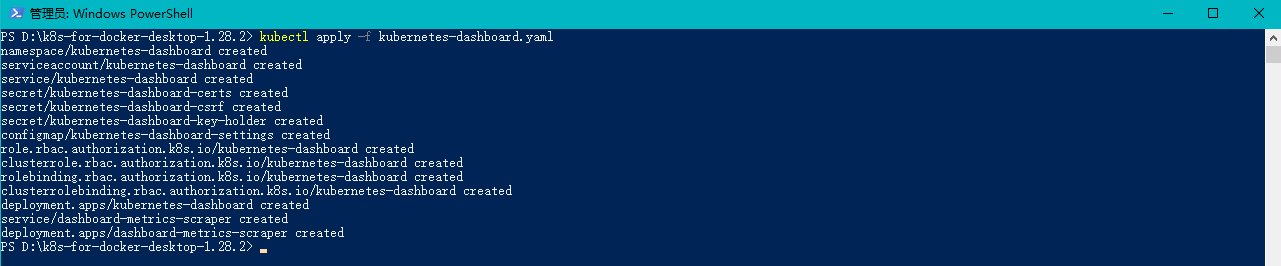
- 安装 Kubernetes-dashboard
kubectl apply -f kubernetes-dashboard.yaml
下载 https://raw.githubusercontent.com/kubernetes/dashboard/v2.5.1/aio/deploy/recommended.yaml
执行 kubectl apply -f recommended.yaml
- 检查 kubernetes-dashboard 应用状态
1 | kubectl get pod -n kubernetes-dashboard |

- 开启 API Server 访问代理
1 | kubectl proxy |

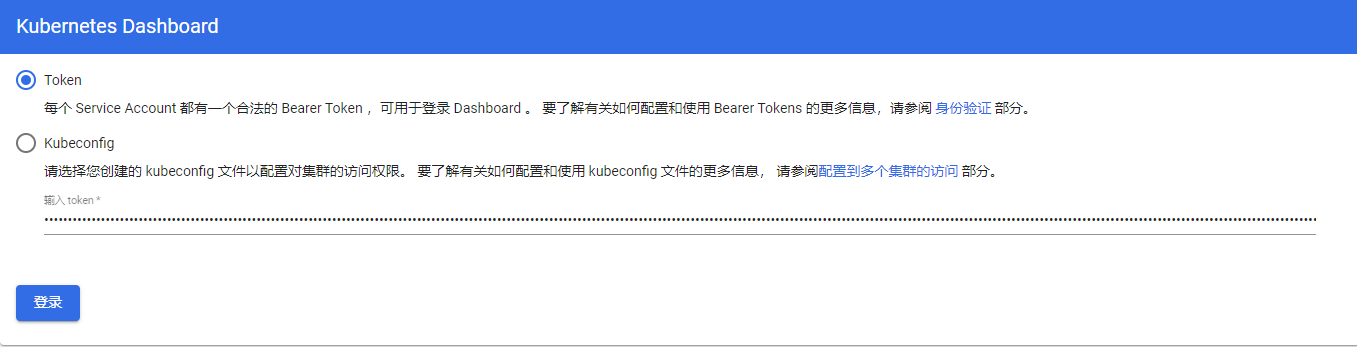
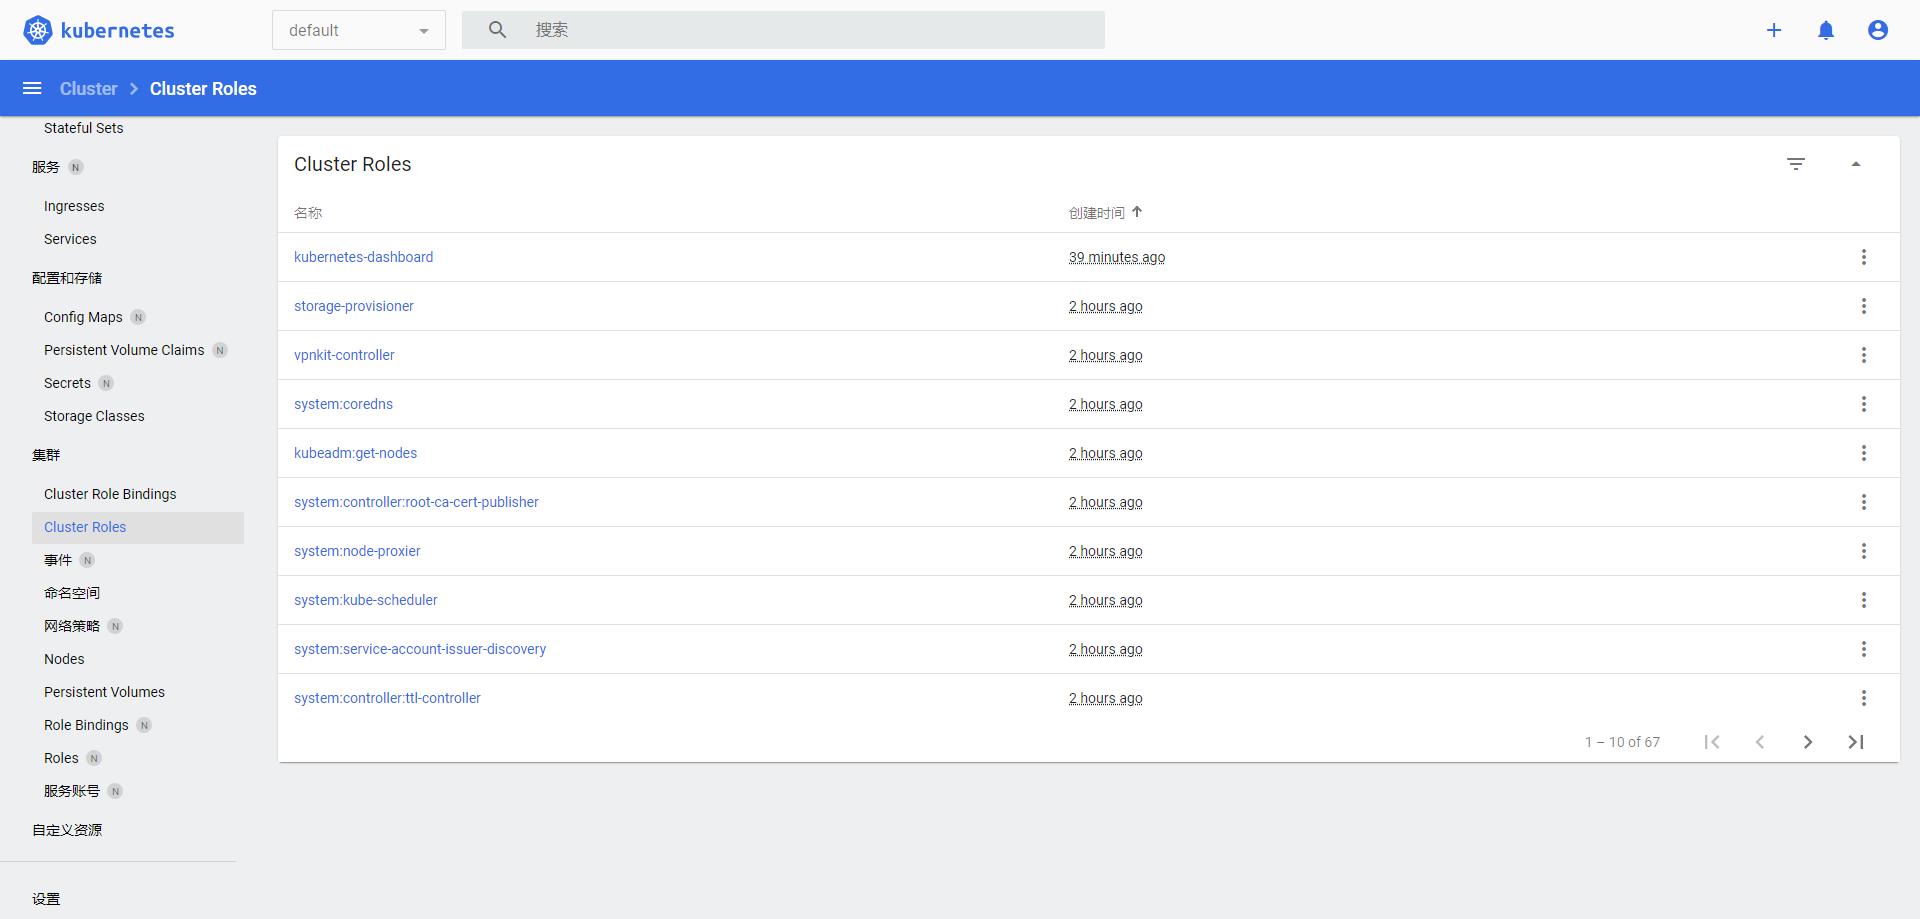
- 访问 Kubernetes-dashboard
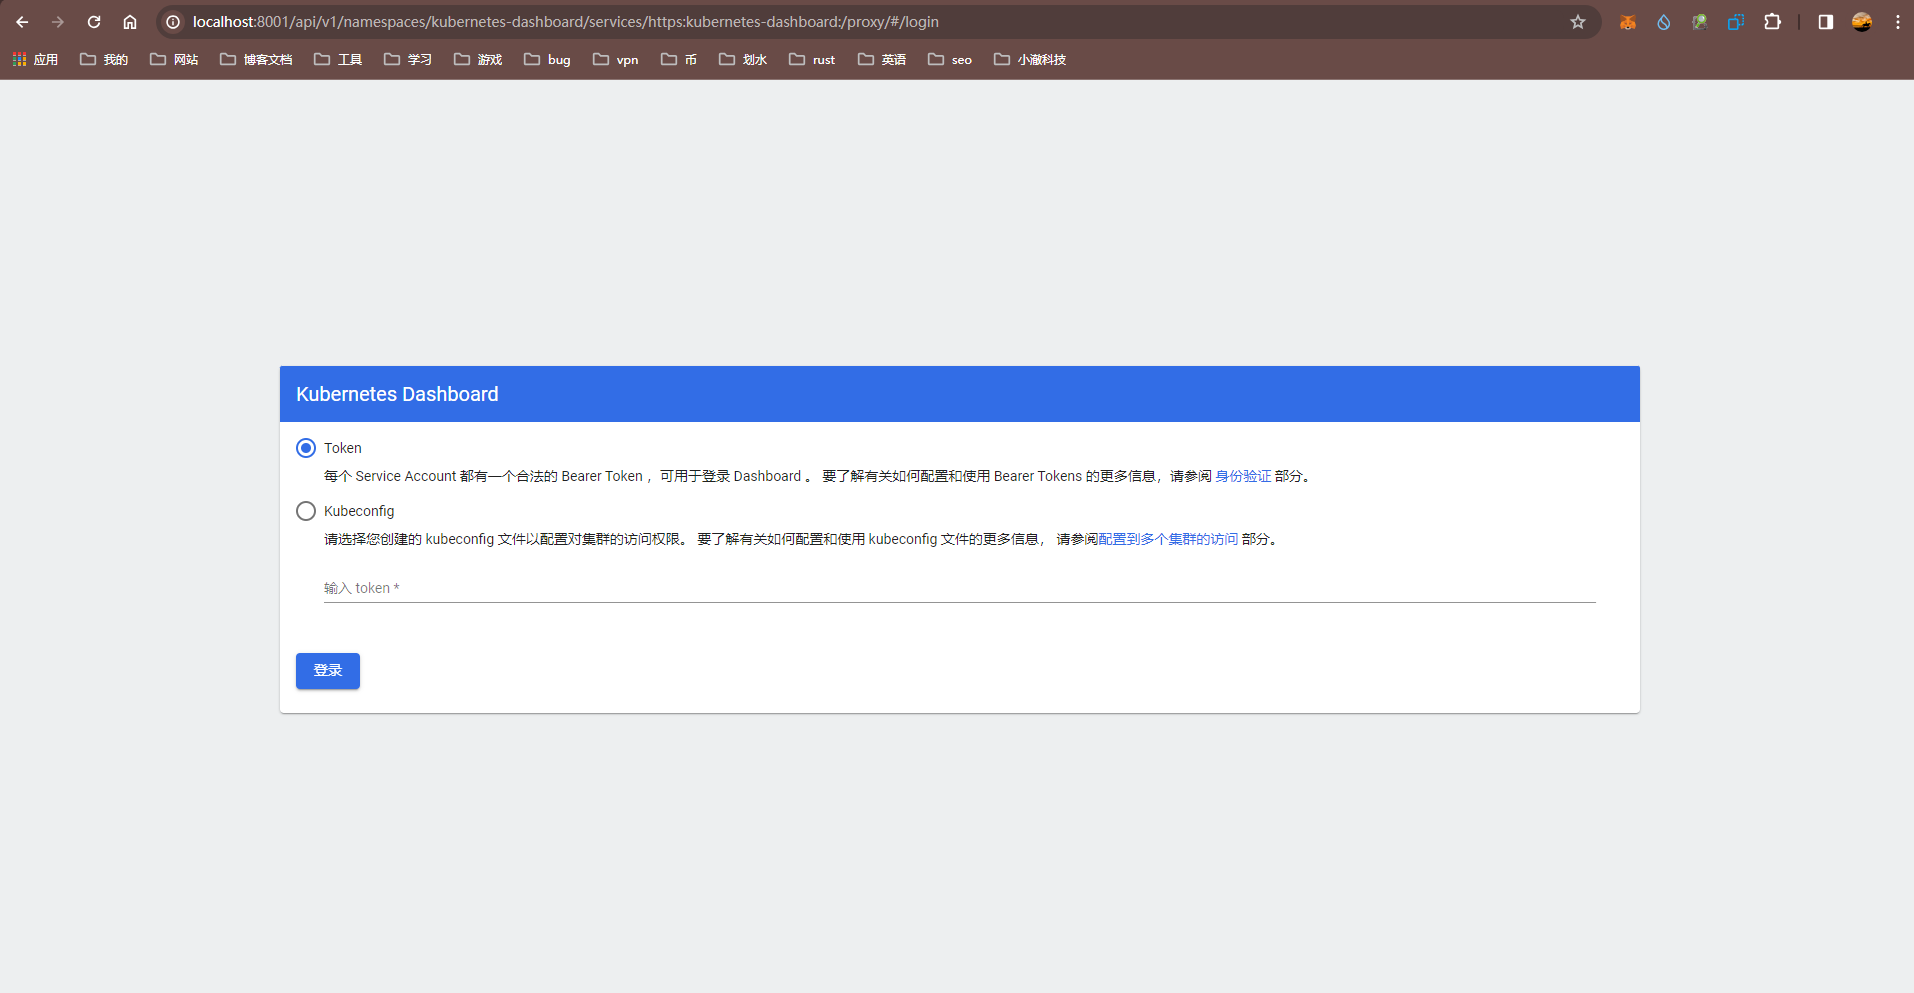
配置访问令牌
- 授权 kube-system 默认服务账号
1 | kubectl apply -f kube-system-default.yaml |

- 获取 Token
1 | TOKEN=((kubectl -n kube-system describe secret default | Select-String "token:") -split " +")[1] |

3.登录
安装 Helm
步骤
- 下载 https://github.com/helm/helm/releases
- 解压缩并添加到环境变量
- 验证
helm version - 配置 chart 仓库
helm repo add stable http://mirror.azure.cn/kubernetes/charts/ - 更新 chart 仓库
helm repo update - 查看可以被安装的 charts 列表
helm search repo stable
Helm 安装 wordpress
1 | 从 Artifact Hub 搜索 wordpress |
安装 Istio
步骤
- 下载 https://github.com/istio/istio/releases/tag/1.20.2
- 解压缩并添加到环境变量
- 验证
istioctl version - 执行安装
istioctl manifest apply --set profile=demo - 检查状态
kubectl get pods -n istio-system - 为 default 名空间开启自动 sidecar 注入
kubectl label namespace default istio-injection=enabledkubectl get namespace -L istio-injection
安装 Book Info(在 istio 目录下执行)
1 | 部署示例应用 |
1 | 删除实例应用 |
启动 kiali(在 istio 目录下执行)
1 | kubectl apply -f samples/addons/kiali.yaml |