DockerDesktop 开启 Kubernetes
Kubernetes 镜像
- 查看版本
![image.png]()
- 下载 k8s-for-docker-desktop
https://github.com/AliyunContainerService/k8s-for-docker-desktop
![image.png]()
- /k8s-for-docker-desktop-1.28.2 目录下执行 .\load_images.ps1
如果因为安全策略无法执行脚本,可以以管理员身份运行并执行 Set-ExecutionPolicy RemoteSigned
![image.png]()
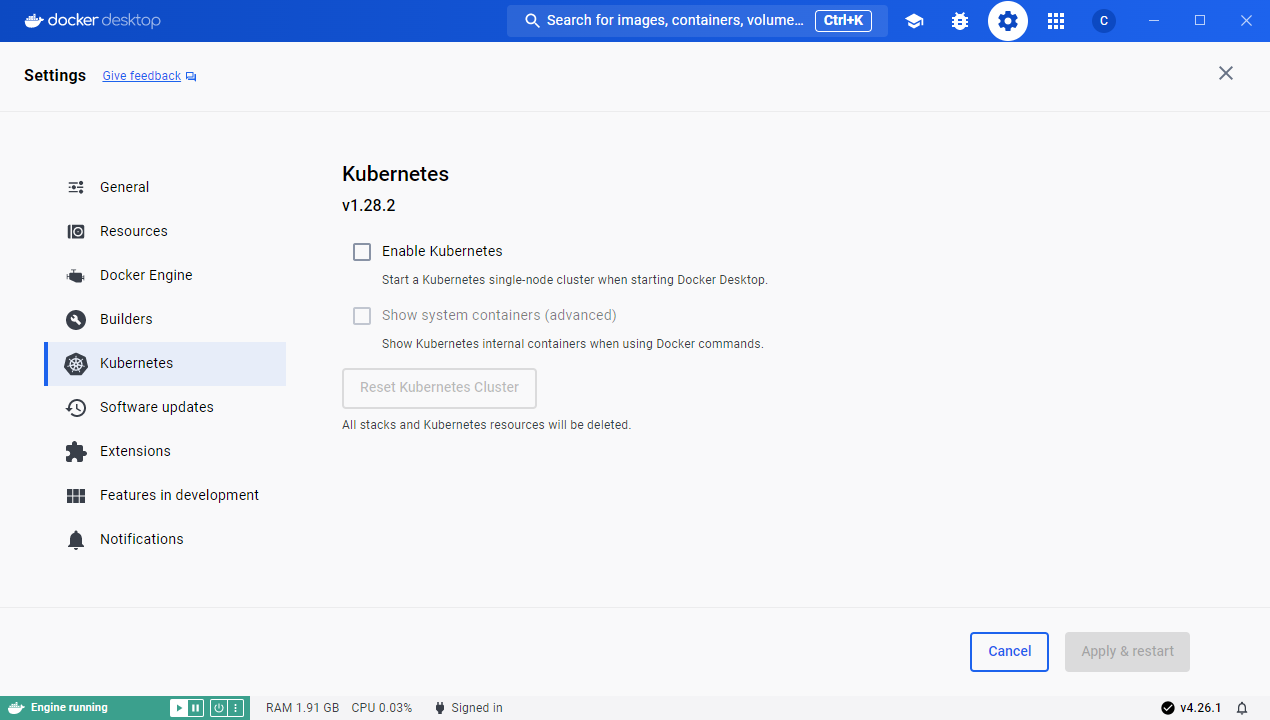
启动 Kubernetes
- 修改 hosts 地址
1
| 127.0.0.1 kubernetes.docker.internal
|
- 配置 Docker Engine
1
2
3
4
5
6
7
8
9
10
11
12
| {
"builder": {
"gc": {
"defaultKeepStorage": "20GB",
"enabled": true
}
},
"experimental": false,
"registry-mirrors": [
"https://mirror.ccs.tencentyun.com"
]
}
|
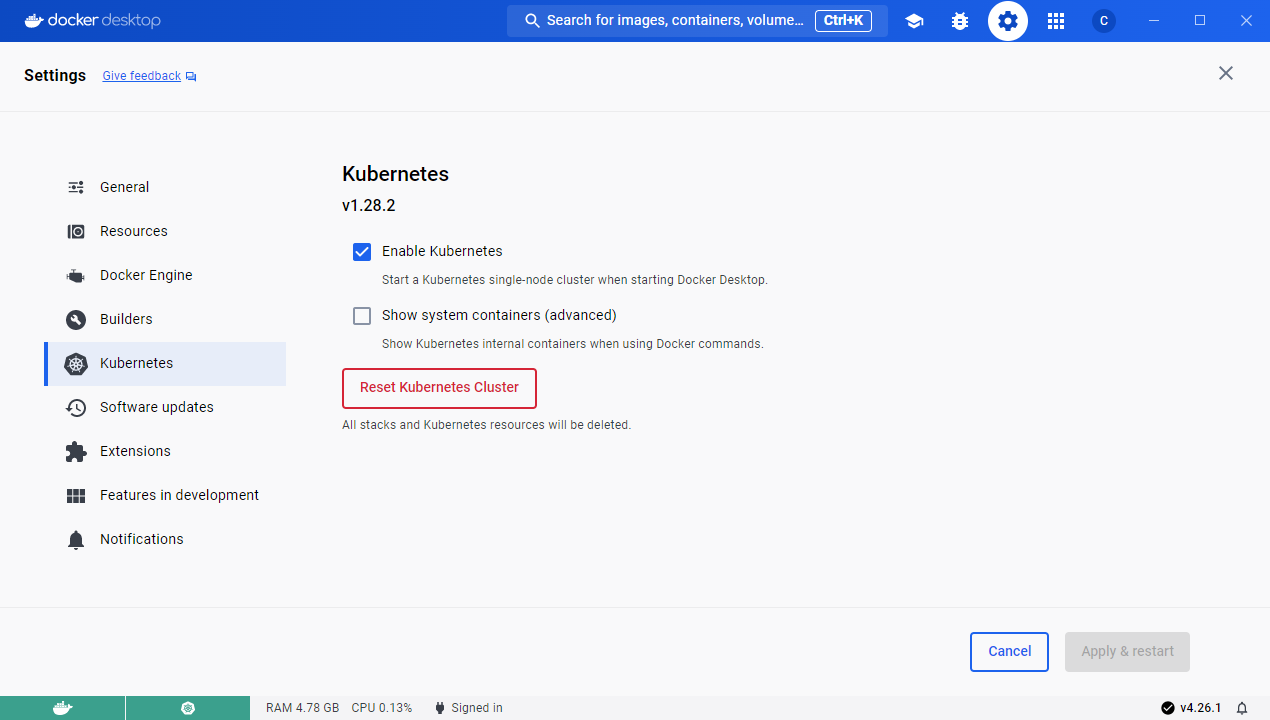
- 启动
如果启动失败,可以点击 Reset Kubernetes Cluster 后再重启
![image.png]()
配置 Kubernetes
- 切换 Kubernetes 运行上下文
1
2
| kubectl config get-contexts
kubectl config use-context docker-desktop
|
![image.png]()
- 验证集群状态
![image.png]()
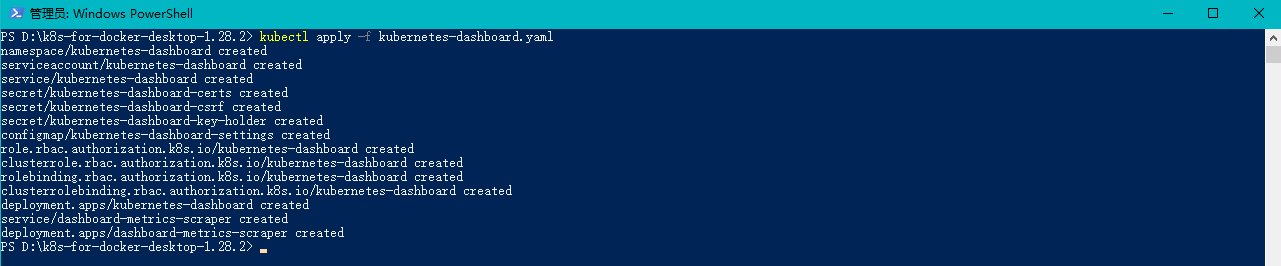
- 安装 Kubernetes-dashboard
kubectl apply -f kubernetes-dashboard.yaml
下载 https://raw.githubusercontent.com/kubernetes/dashboard/v2.5.1/aio/deploy/recommended.yaml
执行 kubectl apply -f recommended.yaml
![image.png]()
- 检查 kubernetes-dashboard 应用状态
1
| kubectl get pod -n kubernetes-dashboard
|
![image.png]()
- 开启 API Server 访问代理
![image.png]()
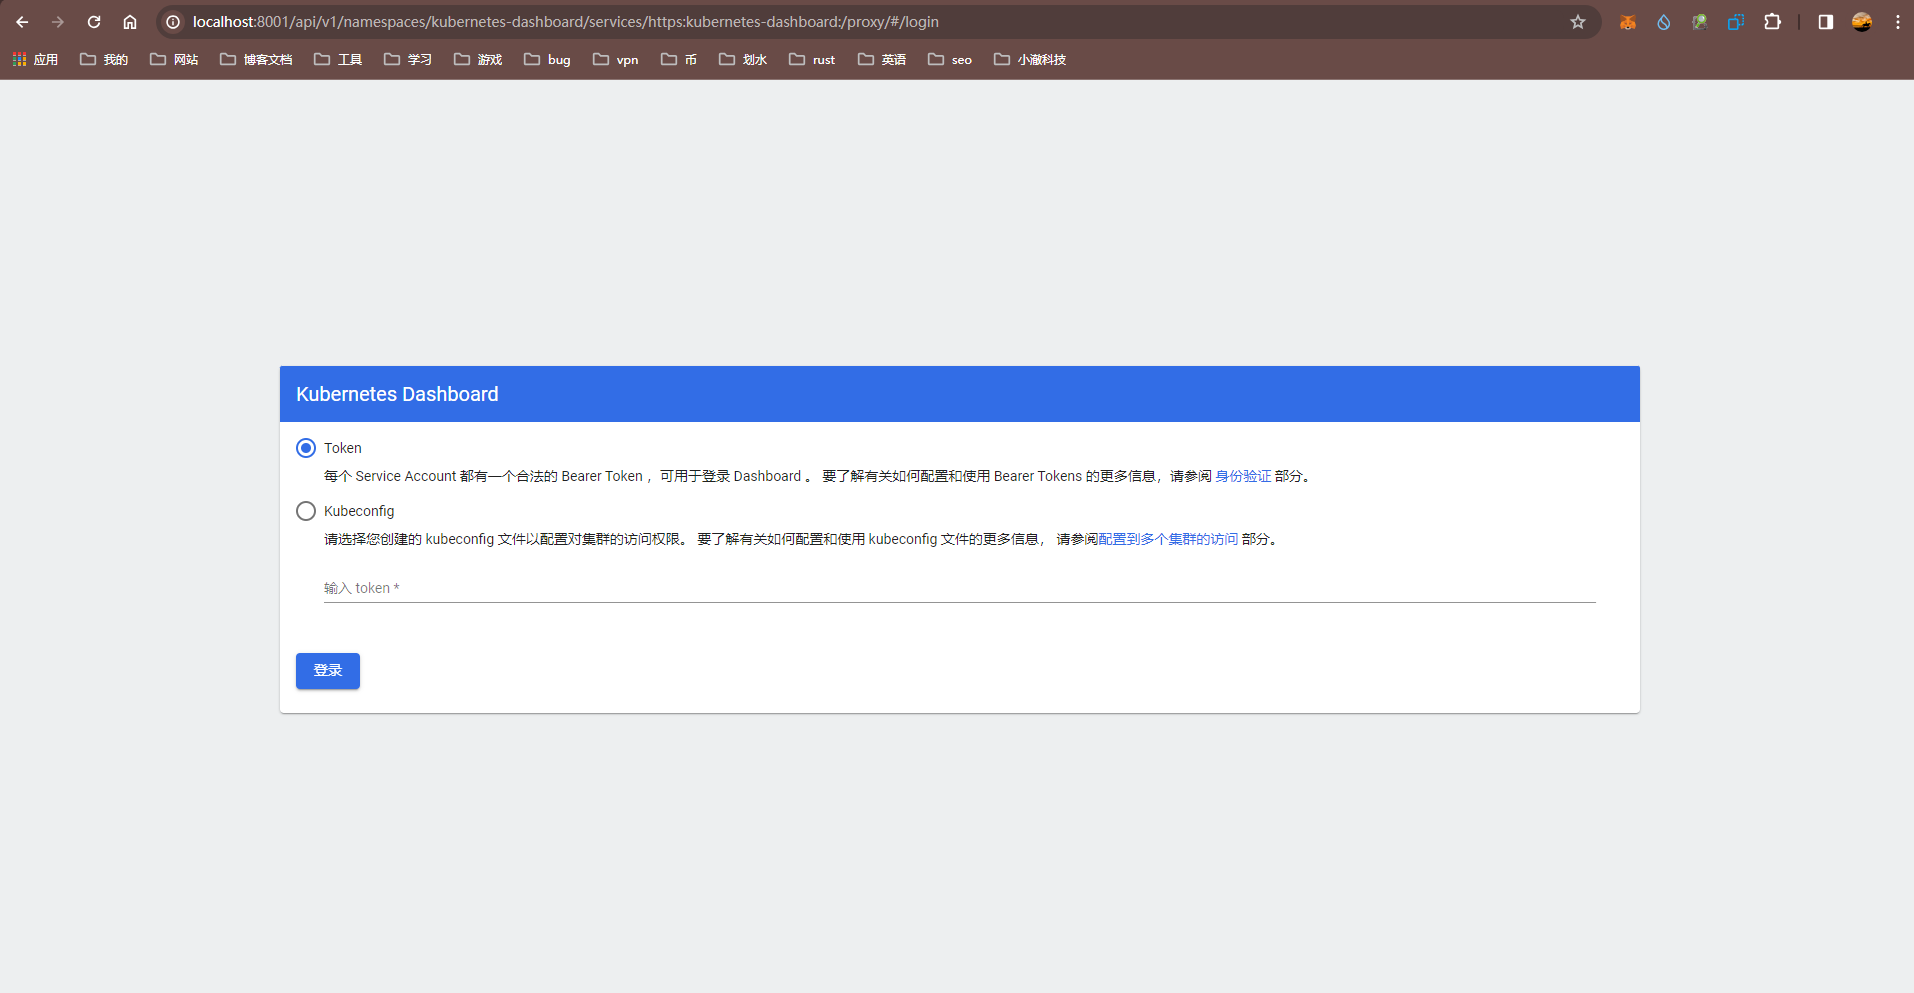
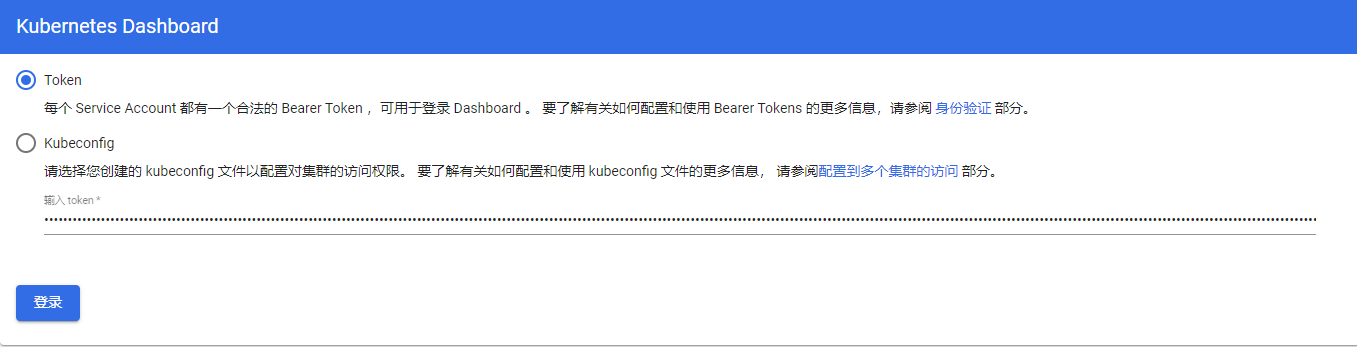
- 访问 Kubernetes-dashboard
http://localhost:8001/api/v1/namespaces/kubernetes-dashboard/services/https:kubernetes-dashboard:/proxy/
![image.png]()
配置访问令牌
- 授权 kube-system 默认服务账号
1
| kubectl apply -f kube-system-default.yaml
|
![image.png]()
- 获取 Token
1
2
3
| $TOKEN=((kubectl -n kube-system describe secret default | Select-String "token:") -split " +")[1]
kubectl config set-credentials docker-desktop --token="${TOKEN}"
echo $TOKEN
|
![image.png]()
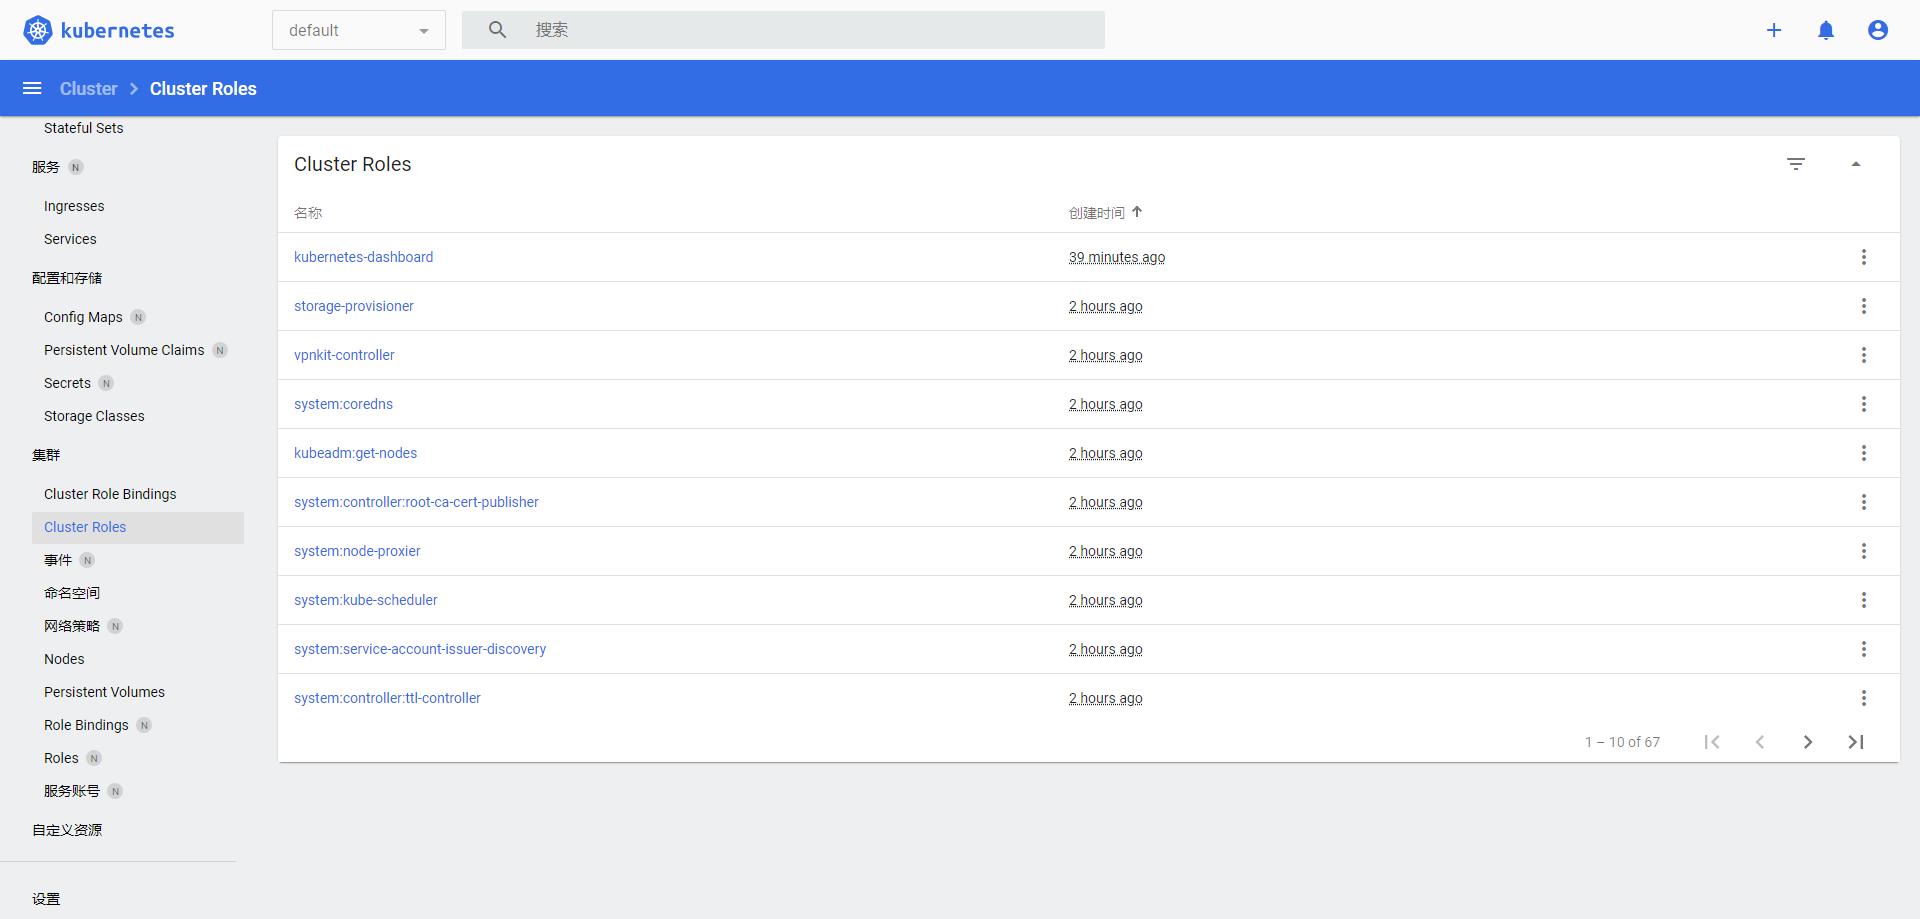
3.登录
![image.png]()
![image.png]()
安装 Helm
步骤
- 下载 https://github.com/helm/helm/releases
- 解压缩并添加到环境变量
- 验证
helm version
- 配置 chart 仓库
helm repo add stable http://mirror.azure.cn/kubernetes/charts/
- 更新 chart 仓库
helm repo update
- 查看可以被安装的 charts 列表
helm search repo stable
Helm 安装 wordpress
1
2
3
4
5
6
7
8
9
10
11
12
13
| # 从 Artifact Hub 搜索 wordpress
helm search hub wordpress
# 从本地 helm 客户端中的仓库中搜索 wordpress
helm search repo wordpress
# 安装 wordpress
helm install wordpress stable/wordpress
# 查看 wordpress 状态
helm status wordpress
# 卸载 wordpress
helm uninstall wordpress
|
安装 Istio
步骤
- 下载 https://github.com/istio/istio/releases/tag/1.20.2
- 解压缩并添加到环境变量
- 验证
istioctl version
- 执行安装
istioctl manifest apply --set profile=demo
- 检查状态
kubectl get pods -n istio-system
- 为 default 名空间开启自动 sidecar 注入
kubectl label namespace default istio-injection=enabled
kubectl get namespace -L istio-injection
安装 Book Info(在 istio 目录下执行)
1
2
3
4
5
6
7
8
9
10
11
12
13
14
15
16
17
18
| # 部署示例应用
kubectl apply -f samples/bookinfo/platform/kube/bookinfo.yaml
# 查看示例应用资源
kubectl get svc,pod
# 确认示例应用在运行中
kubectl exec -it $(kubectl get pod -l app=ratings -o jsonpath='{.items[0].metadata.name}') -c ratings -- curl productpage:9080/productpage | grep -o "<title>.*</title>"
# 创建 Ingress Gateway
kubectl apply -f samples/bookinfo/networking/bookinfo-gateway.yaml
# 查看 Gateway 配置
kubectl get gateway
# 确认示例应用可以访问
export GATEWAY_URL=localhost:80
curl -s http://${GATEWAY_URL}/productpage | grep -o "<title>.*</title>"
访问 http://localhost/productpage
|
1
2
3
4
5
| # 删除实例应用
samples/bookinfo/platform/kube/cleanup.sh
# 卸载 Istio
istioctl manifest generate --set profile=demo | kubectl delete -f -
|
启动 kiali(在 istio 目录下执行)
1
2
3
4
| kubectl apply -f samples/addons/kiali.yaml
istioctl dashboard kiali
http://localhost:20001/kiali
|
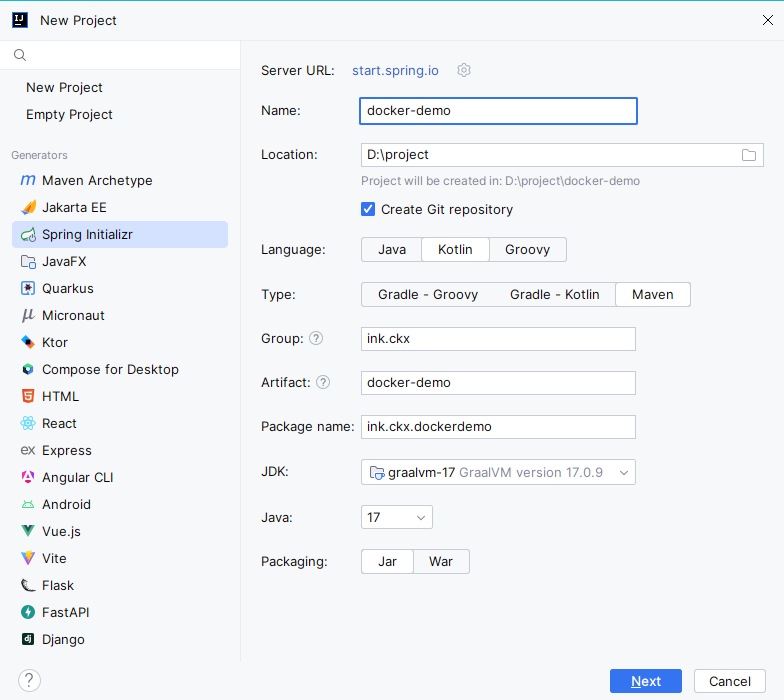
部署应用
![image.png]()
1
2
3
4
5
6
7
8
9
| @RestController
class HelloController {
@GetMapping("/")
fun index() = "docker-demo index!"
@GetMapping("/hello")
fun hello(@RequestParam name: String) = "hello ${name}!"
}
|
1
2
3
4
5
6
7
8
9
10
11
12
13
14
15
16
17
18
19
20
21
| <plugin>
<groupId>com.spotify</groupId>
<artifactId>dockerfile-maven-plugin</artifactId>
<version>${dockerfile-maven-plugin.version}</version>
<executions>
<execution>
<id>default</id>
<goals>
<goal>build</goal>
<goal>push</goal>
</goals>
</execution>
</executions>
<configuration>
<repository>chenkaixin12121/${project.artifactId}</repository>
<tag>${project.version}</tag>
<buildArgs>
<JAR_FILE>${project.build.finalName}.jar</JAR_FILE>
</buildArgs>
</configuration>
</plugin>
|
1
2
3
4
5
6
| FROM eclipse-temurin:17-jre-jammy
LABEL authors="chenkaixin12121"
VOLUME /tmp
COPY target/*.jar docker-demo.jar
ENTRYPOINT ["java", "-jar", "/docker-demo.jar"]
EXPOSE 8080
|
构建镜像
1
2
3
4
5
| # 打包并构建镜像
maven clean package
# 推送
docker push chenkaixin12121/docker-demo:0.0.1-SNAPSHOT
|
Deployment 文件
1
2
3
4
5
6
7
8
9
10
11
12
13
14
15
16
17
18
19
20
21
22
23
24
25
26
27
28
29
30
31
32
33
34
35
36
37
38
39
40
41
42
43
44
45
46
47
48
49
| apiVersion: v1
kind: Namespace
metadata:
name: my-namespace
---
apiVersion: apps/v1
kind: Deployment
metadata:
name: docker-demo
namespace: my-namespace
spec:
replicas: 2
selector:
matchLabels:
name: docker-demo
template:
metadata:
labels:
name: docker-demo
spec:
containers:
- name: docker-demo
image: chenkaixin12121/docker-demo:0.0.1-SNAPSHOT
imagePullPolicy: IfNotPresent
ports:
- containerPort: 8080
---
apiVersion: v1
kind: Service
metadata:
name: docker-demo
namespace: my-namespace
spec:
type: LoadBalancer
selector:
name: docker-demo
ports:
- name: http
protocol: TCP
port: 8080
targetPort: 8080
|
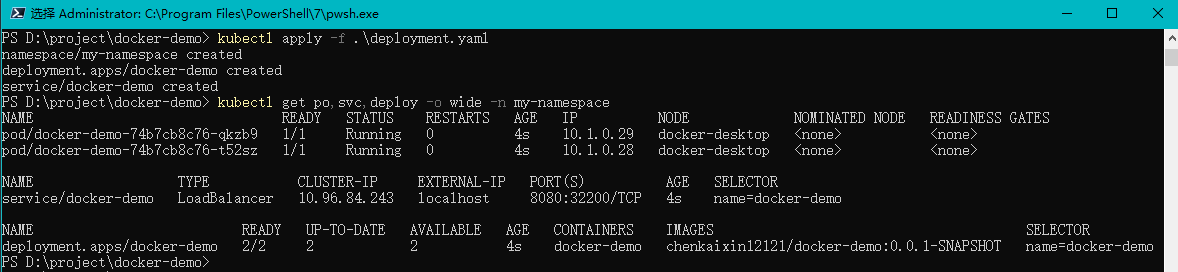
部署
1
2
3
4
5
| # 部署
kubectl apply -f deployment.yaml
# 查看
kubectl get po,svc,deploy -o wide -n my-namespace
|
![image.png]()
访问 http://localhost:8080/ , http://localhost:8080/hello?name=chenkaixin12121
常用命令
1
2
3
4
5
6
7
8
9
10
11
12
13
14
15
16
17
18
19
20
21
22
23
24
25
26
| -o wide yaml json
-n NAMESPACE_NAME
# 查看
kubectl get namespace
kubectl get deploy
kubectl get po
kubectl get svc
# 删除
kubectl delete -f deployment.yaml
kubectl delete namespace NAMESPACE_NAME
kubectl delete deploy DEPLOYMENT_NAME
kubectl delete po POD_NAME # 删除后自动增加 pod
kubectl delete svc SERVICE_NAME
# 服务扩容
kubectl scale deploy DEPLOYMENT_NAME --replicas=3
# 自动扩容
kubectl autoscale deploy DEPLOYMENT_NAME --min=1 --max=4
# 设置默认 namespace
kubectl config set-context --current --namespace=NAMESPACE_NAME
# 查看日志
kubectl logs -f POD_NAME
|